HOTLINE: +84 979761016
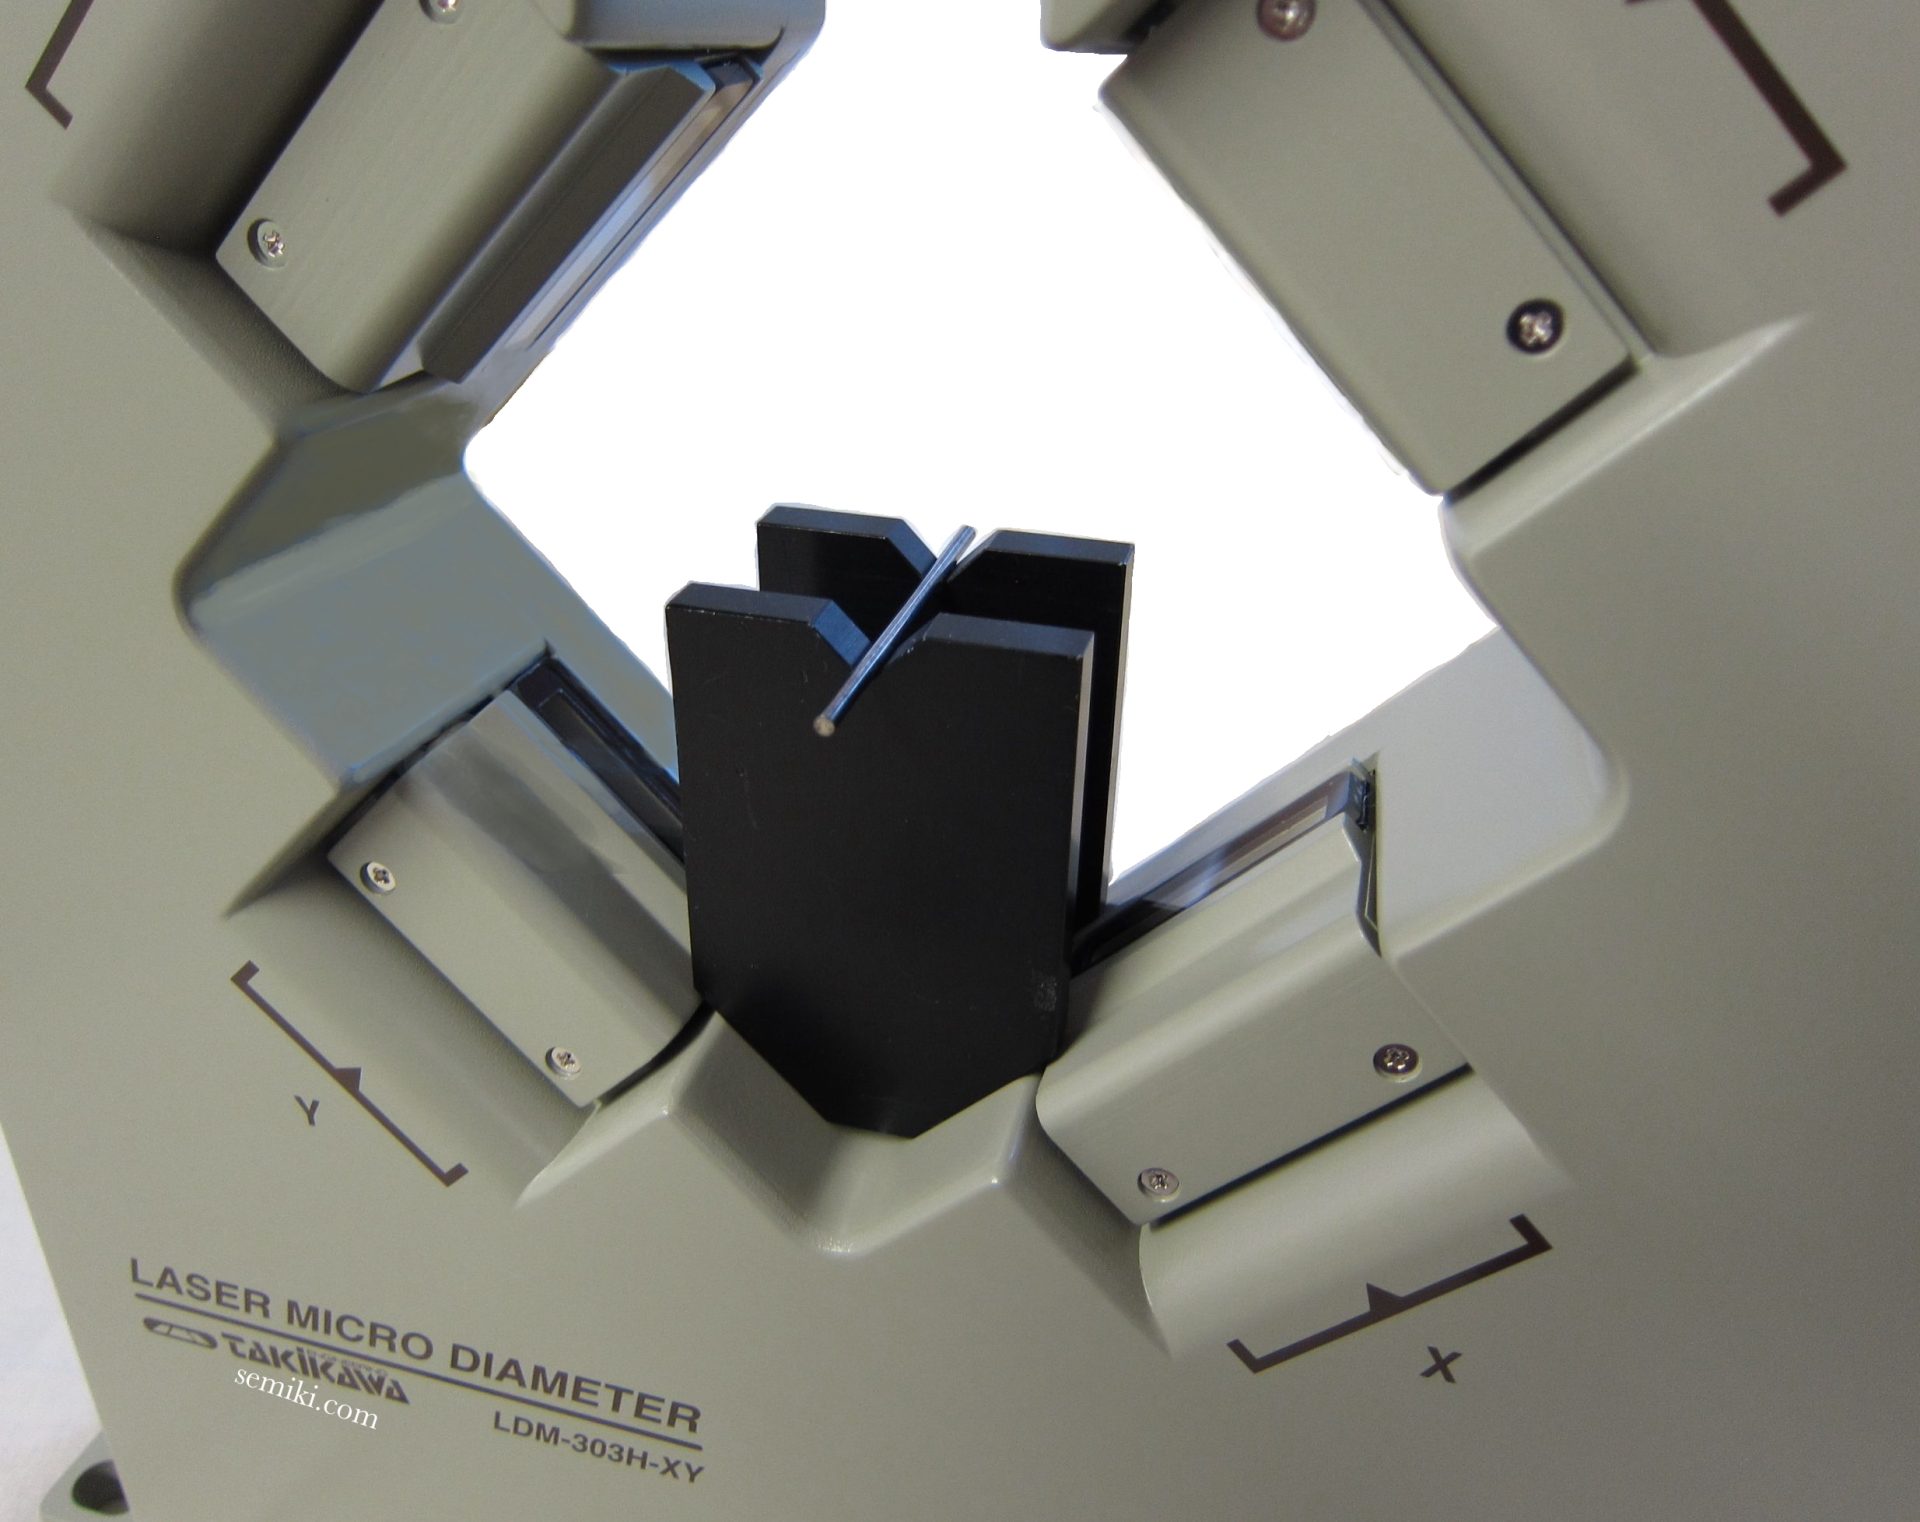
TAKIKAWA Laser Micrometer Calibration gauge and Calibration gauge Fixture

TAKIKAWA
Laser Micrometer Calibration gauge
and Calibration gauge Fixture
Model:
L-032B (For LDM-303H-XY)
L-040 (For LDM-304H)
L-042B (For LDM-304H-XY)
L-022 (For LDM-302H-XY)
* Calibration gauge diameter can be changed according to customer’s request.
* The gauge diameter stated in the calibration gauge diameter is the diameter used in standard products.
Even if there is no diameter in this table, calibration may be possible if it is within the measurement range.
* Even not listed gauge diameters is also purchasable.
* Please contact our sales department for the detector with the description of the option on the calibration gauge table.


Example of calibration method with Laser Micrometer (LDM-110 / LDM-210)
It is not necessary to calibrate the Laser Micrometer it is already calibrated at the time of shipment.
When calibration is necessary, 2 point calibration is performed with large diameter and small diameter. So prepare 2 gauge pins with different reference outside diameter.
For example, the procedure when using a gauge pin of Φ 40 mm as a large diameter and Φ 5 mm as a small diameter is shown.
Suppose the decimal point display of the main display is set to the second from the left. (88.888 display)
1. Set REF PRESET to “40.000”.
2. Set the gauge pin of Φ 40 mm as centered as possible in the measurement area of the Scanning Unit.
3. Push the HI switch of the CAL with a thing like a pin. (Please continue pushing for a while)
4. Release the CAL switch when the main display is displayed as “88888” and then “40000” is displayed. (This completes the calibration of Φ 40 mm)
5. Set REF PRESET to “05.000”.
6. Set the gauge pin of Φ 5 mm as centered as possible in the measurement area of the Scanning Unit.
7. Push the LO switch of the CAL with a thing like a pin. (Please keep pushing for a while)
8. Release the CAL switch when it is displayed as “88888” and then “05000” on the main display. (This completes the calibration of Φ 5 mm)
This completes the calibration between Φ 5 and 40 mm.


Maintenance and calibration :
► We also have calibration certificate attached ( optional )
► Please re-calibrate after use for a certain period through our purchase store. Local Vietnam : SEMIKI CORP

DISTRIBUTED BY:
Semiki instrumentation Co., Ltd
Email: sales@semiki.com
Office tel: +84 28 2253 3522
~DOING OUR BEST FOR YOU~

Thiết bị phòng Lab, Thiết bị phòng sản xuất

Thiết bị phòng sản xuất

Thiết bị phòng sản xuất

Thiết bị phòng sản xuất

Thiết bị phòng sản xuất

Thiết bị phòng sản xuất

Thiết bị phòng sản xuất

Thiết bị phòng sản xuất